Side Bending
- Thickness sides to 2.5mm
- Cut to 115mm wide
- Turn on the heating pad to warm up
- Mark top and bottom and front with white engineers pen
- Wet side and wrap in alfoil
- Mark the waist position on the alfoil and insert into bender with bottom to bottom of jig
- Put springs on clamps and side blocks after inserting wood
- Heat for 15 minutes – screw down waist till tight then back off 2 turns
- Pull over spring blocks to bend sides – may need to pull back and repeat
- Turn off heater after 15 minutes and leave for a week to set bends
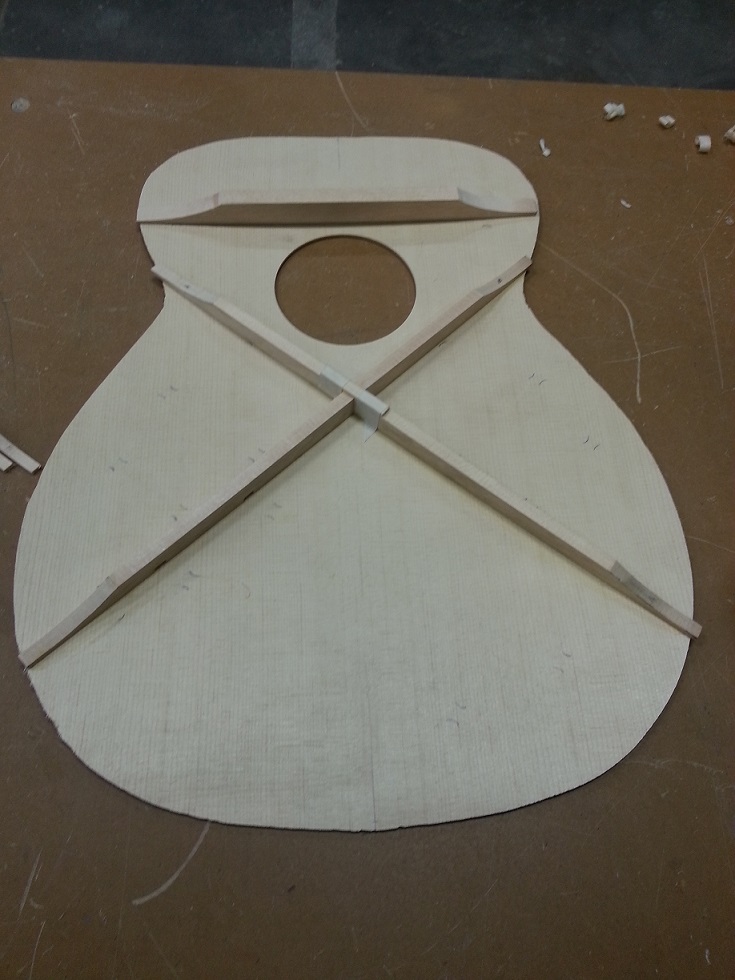
Top braces
- Plane top braces to 15mm high
- Cut leftover spruce from top to cover top of join in X-braces – 50mm long and as wide as brace
- Glue and hold down with masking tape
Main brace hole for truss rod adjustment
- Find centre of top main brace on front, mark 7.75mm up from botom and drill 9.5mm hole(for access to truss rod nut)
- Chamfer other braces for top so centre is 3mm wide, remember not to go beyond the bottom width
- Cut small 45 degree angles on ends of small braces to provide slotting into the cross braces